Legends of the Outer Rim - using GW's Legends of the Old West for Star Wars Skirmish Gaming
Introduction
We've started using the out of print 'Legends of the Old West' from Games Workshop Historical for some Star Wars skirmish gaming. Its a fast and fun ruleset, akin to GW's Lord of the Rings engine, that provides great games.
We have set our scene to rebels operating on the remote planet Akiva, where a rebel group run sabotage missions
, a few years before the Battle of Yavin and the destruction of the first deathstar.
In our previous game our rebels managed to get their hands on hands on plans to a powerstation. Please see
HERE.
With no time to spare and having had their ship under guard by the Imperium, the rebels had to pay a henchman of Surat Nuat - the local crime lord - to airlift them and their equipment to the area where the power station was located.
Almost immediately after their transport took of they saw stormtroopers closing in on their position. It was a trap! They had beed betrayed and now had to try and blast a way out, trying to get their gear with them.
We used the
Bank Robbery scenario from the Legends of the Old West rulebook, originally where a surrounded group of robbers have to shoot themselves out and try and leave the table with their loot.
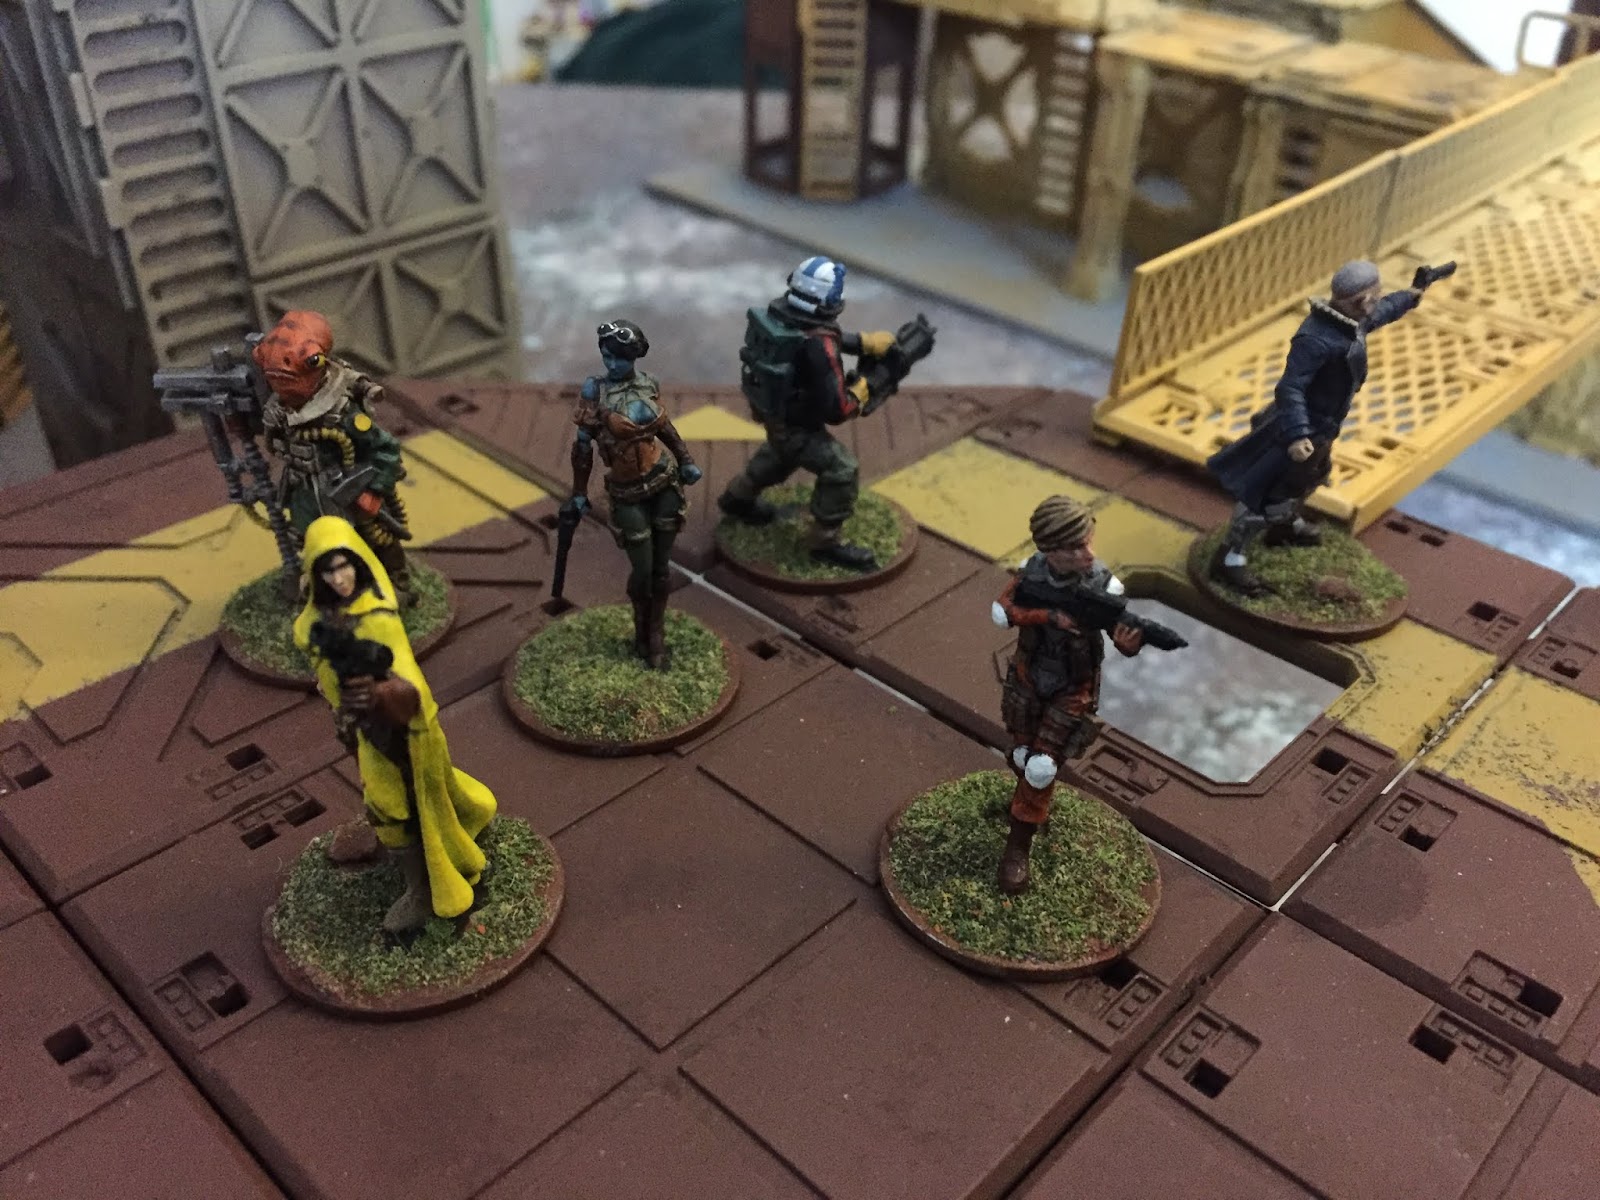
The opposing forces
 |
| The Rebels |
 |
| The Imperial Stormtroopers |
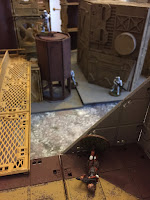
The table
 |
A 4x4' table with lots of buildings.
And the rebels at the landing platform. |
The Game
The scenario kicked off with the Rebels being deployed on the landing platform. As their transport took off they picked up their gear and got ready to move. It was quiet. Too quiet...
 |
| "I have a bad feeling about this." |
 |
| Stormtroopers waiting to close the trap. |
Almost immediately the Rebels saw stormtroopers closing on their position. "It's a trap!"
Qickly coming up with a plan they thought it best to blast their way out at a single exit point, trying to get local supperioriy in numbers at that spot. So a pair of Rebels opened up with covering fire as the others moved as quickly as they could with their heavy equipment to the ladder at the end of the platform. With laser blasts flying through the air the Rebels scrambled down the ladder, only for their Leader to lose his footing and tumble head first into the pavement below. Not a great start to their escape.
 |
| "The Empire is here, we got to move!" |
 |
Their escape starts badly as the rebel leader takes a bad step
climbing down the ladder and falls, hurting himself badly. |
 |
| More stormtroopers appears. |
As the Rebels were moving towards their chosen exit the brave few holding their ground and proving covering fire was under immense preasure. Not before long the stomtroopers were simply too many and the Rebel's rearguard were hit and and fell.
 |
| The rebel's rearguard takes incoming fire... |
 |
| ...and falls. |
On
the other side the Rebels, including their wounded leader, stumbled
towards the exit point. With yet more stormtroopers blocking their way it
turned into a fierce close range firefight with casualties on both
sides. As the Rebels pushed further they ended up in close combat with
the ever increasing number of stormtroopers.
With
the Rebel leader being shot, falling to the ground and this time staying down, and others going
down aswell, the rebels simply could not break out from the Empire's trap.
The Rebels not shot were captured, facing an uncertain fate.
The Empire
had won!
 |
| The desperate rebels try to shoot their way out... |
 |
...but even as some stormtroopers go down the rebels
loose speed and get bogged down in fierce combat. |
 |
| The rebels are surrounded on all sides... |
 |
...and in the end the rebel leader goes down.
The rebels are caught! |
Conclusion
Another quick and fun game using our Star Wars "Wild West" theme. The Rebels plan to go strong towards a specific exit point, only leaving a few Rebels as rearguard was probably a good one. But with their heavy equipment they couldn't move quick enough and with their leader wounded early on they were in deep trouble. Some good manouvering from the Empire also made sure to slow the Rebels down until more stormtroopers arrived to close the trap. A great game!