Sunday, August 18, 2019

AAR: Battle of Metz Game 3 - Last Attack at Arracourt, 29th of September 1944 (1 of 2)

The First of Two Big Chain of Command Battle Reports at Arracourt 1944 - the American counter attack to clear Hill 318 from the Germans for the last time, the final day of the tank battle at Arracourt, September 29


Introduction

After Patton’s Third Army swept across France they finally started to lose momentum at the fortress city of Metz, in september 1944. Metz was surrounded by several forts and strong points and was also situated where several rivers - most notably the Moselle river and further east the Sielle river - made bypassing the city very difficult.

The situation, early september 1944.
Metz and Arracourt are marked on the map.

Awhile back we played two scenarios (Game 1 and Game 2) based on an early American beachhead across the Moselle river at Arnaville, south of Metz, in mid september.

This time we are a few weeks later in september 1944, and a bit further south where the US 4th Armoured Division have managed to cross the rivers and reached as far as the village of Arracourt, to the southeast of Metz.

The advance of US 4th Armoured Division.

What then happened was the Americans' largest tank battle of the war. The Germans needed to stop the Americans rapid advance in the area. The 5th Panzer Army - including the newly formed Panzer Brigades 111 and 113 - attacked. Although the Germans were superiour in numbers and had brand new Panther tanks their tank crews were often green and they were critically low on recce troops. The Americans on the other hand had experienced crews and used excellent combined arms tactics with the Armoured division working close with the Tactical Air Command, calling down Jabos on the Germans as soon as the cloudy skies gave an opportunity.

The area of Arracourt. Hill 318 marked in red.

Playing a part of Arracourt is a great opportunity for us to field some armour and play Big Chain of Command for the first time. Our two games - this is the first - depict the last effort of the Germans, after ten days of hard combat. Hill 318 to the south on the battlefield was a key position, giving excellent fields of vision across the landscape below. It changed hands several times over during the battle. Our games are inspired by when the Germans have succeeded in one final effort to take the crest of Hill 318 yet again, on the morning of September 29. The German forces are made up from the surviving elements of the 11. Panzer Division and Panzer Brigade 111 and 113 together with Grenadiers of the 15th Panzer Grenadier regiment. The Americans of the 51st Armoured Infantry - supported by the 8th Tank battallion, CCB of the 4th Armoured Division - then counter attacked to try and take it back!

Our two games represent two sectors of the American push for the crest of Hill 318 at noon September 29.

GAME 1

The Table

We played our first game on a 6x6' (180x180cm) table.


The Forces and the Scenario 

We played the Attack and Defend scenario from the Chain of Command rulebook where the attackers have to drive the enemy off the table while not having a Force Morale lower than 3. The counter attackning Americans were the attackers.

The Americans had a one platoon of Armoured Infantry from the 51st Armoured Infantry Battalion and a full Sherman platoon of five tanks from the 8th Tank Battallion. All Regular troops. The latter platoon had two 75mm Shermans and three 76mm Shermans. In addition the Americans had access to a Medic, a Mineclearing Team, a Preliminary Bombardment and a 60mm Mortar Team.

The Germans fielded a platoon of Panzergrenadier from the 11. Panzer Division (NB: lacking Heer grenadiers we used miniatures for SS Grenadiers instead) and an understrenght platoon of three Panther aufs D. To keep things simple we played them all as Regular troops. They had access to an extra Senior Leader and an Additional Grenadier Squad.


German Jump off points in blue, American in red.


The Game 

The Germans had taken the crest of Hill 318 yet again in the morning, driving the the American infantry of the 51st armoured battallion back down the hill. Now the Americans went back in,  through the wheat fields towards crest well aware of that the German grenadiers and Panthers were up there somewhere. They hoped that the recent US artillery barrage had softened up the Germans somewhat.

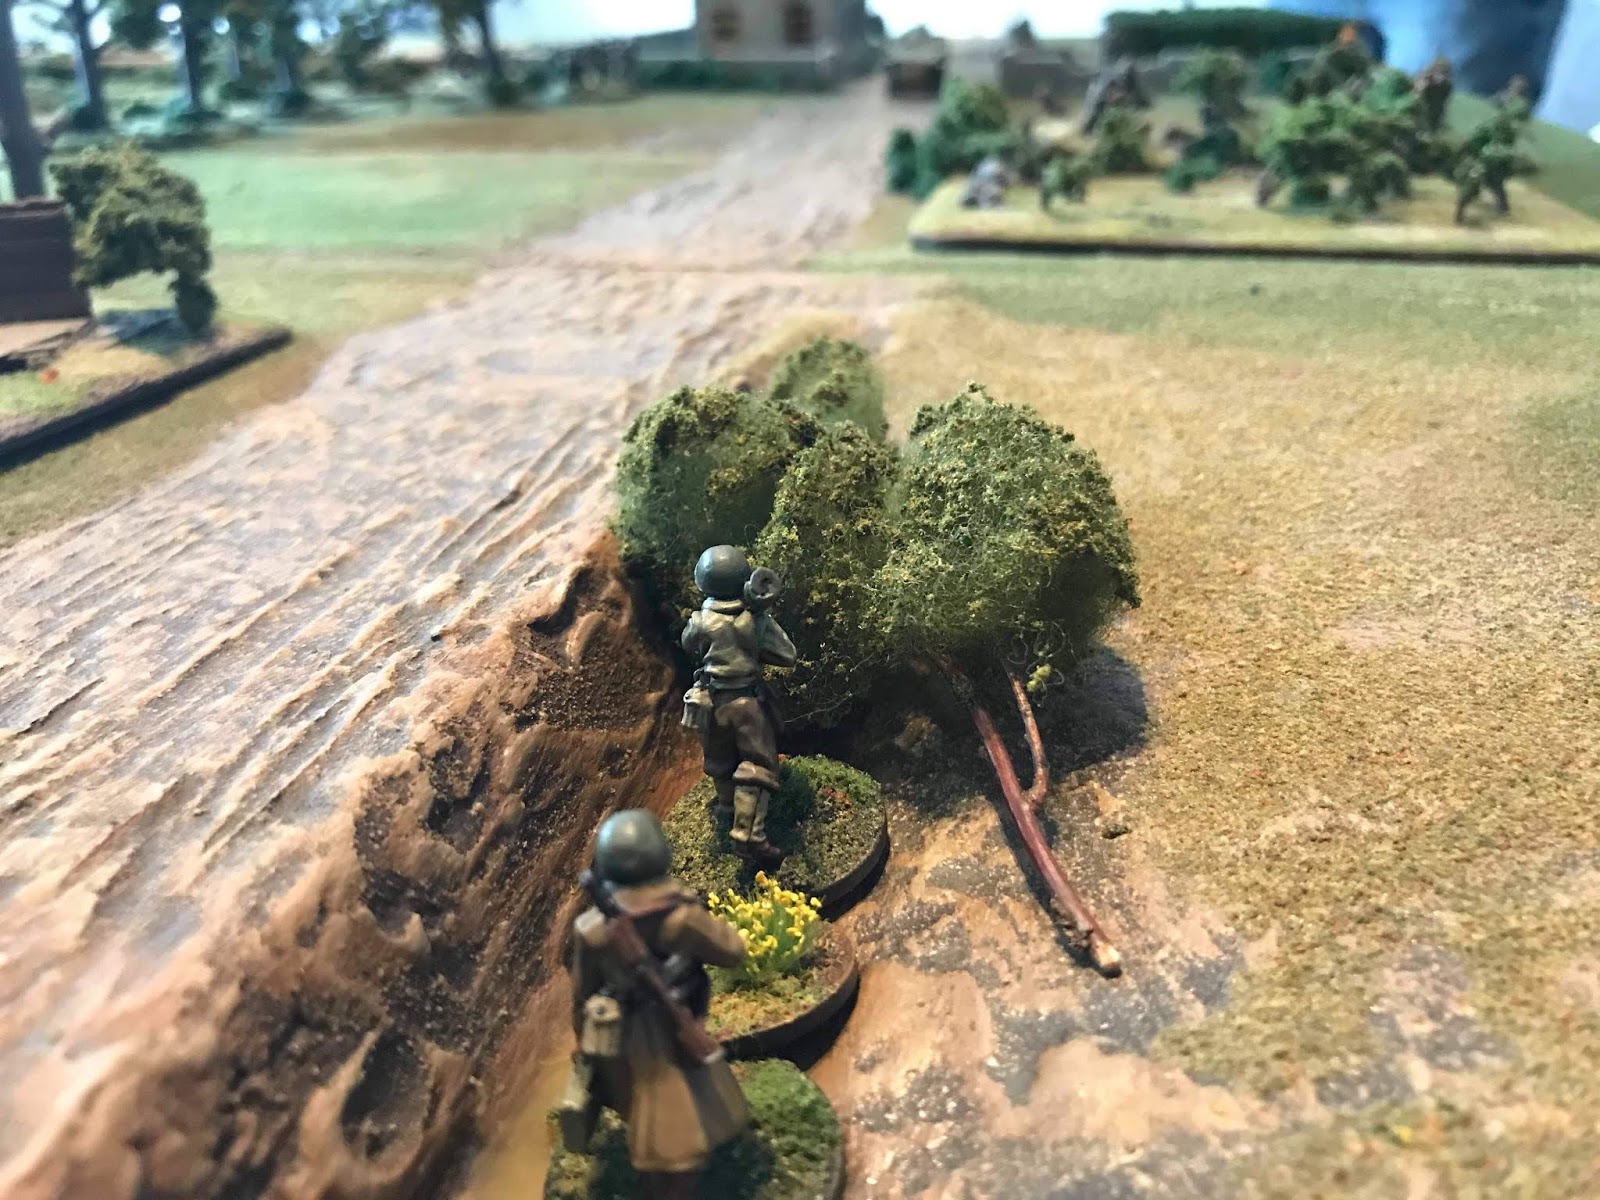
The Americans set up a infantry fire base on their right with one squad advancing slowly though some shrubbery. On the other flank the advance of two Shermans were met by a lone Panther coming trough the US artillery bombardment. The first shots were fired but with no effect.

When yet another Sherman entered, rolling down the road all hell broke lose.


The Americans build a base of fire in the wheatfield to their right.
Two Shermans advance as a lone Panther tank appears.

The Panther platoon commander evaluate the situation.

Another Sherman rolls up the road to support the infantry...

...only to find itself in the sights of a Panther on the hill...

...with predictable consequences!
The triumphant Panther.
On the other flank more armour arrived. The advancing Shermans were met by yet another Panther. It developed into a shooting match of quantity vs quality. The Sherman guns simply coundn't peneterate the fronts on the Panthers despite several hits. At times the repeated hits rattled the Panther crews but it was never enough to threaten them seriously. Having identified the lead tank of the Sherman platoon the US platoon commander were hit several times aswell. Although his tank started to fall apart around him and his crew, they managed to stay in the battle, although his command ability was severely hampered.

AT shells fly across the fields.

More Shermans arrive on the scene. But their guns fail
to penetrate the Panthers' heavily armoured fronts.
Having already destroyed the Sherman on his flank the Panther up on the hill
starts targeting the Shermans on the oposing flank, across the battlefield...


...with devastating results.

The tanks blast at each other while the US infantry start to crawl forward.

As the tanks slugged it out the US infantry kept advancing in cover along the road. Their advance was delayed as the lead squad sergeant fell to the first bullet coming their way. They kept moving though but were stopped in their tracks as German infantry appeared to their front. On the other flank it was the same story with the US infantry not being able to advance. The German infantry was hurting though as the US armoured infantry kept firing, getting support from multiple machine guns and a 60mm mortar.

The American infantry advance...
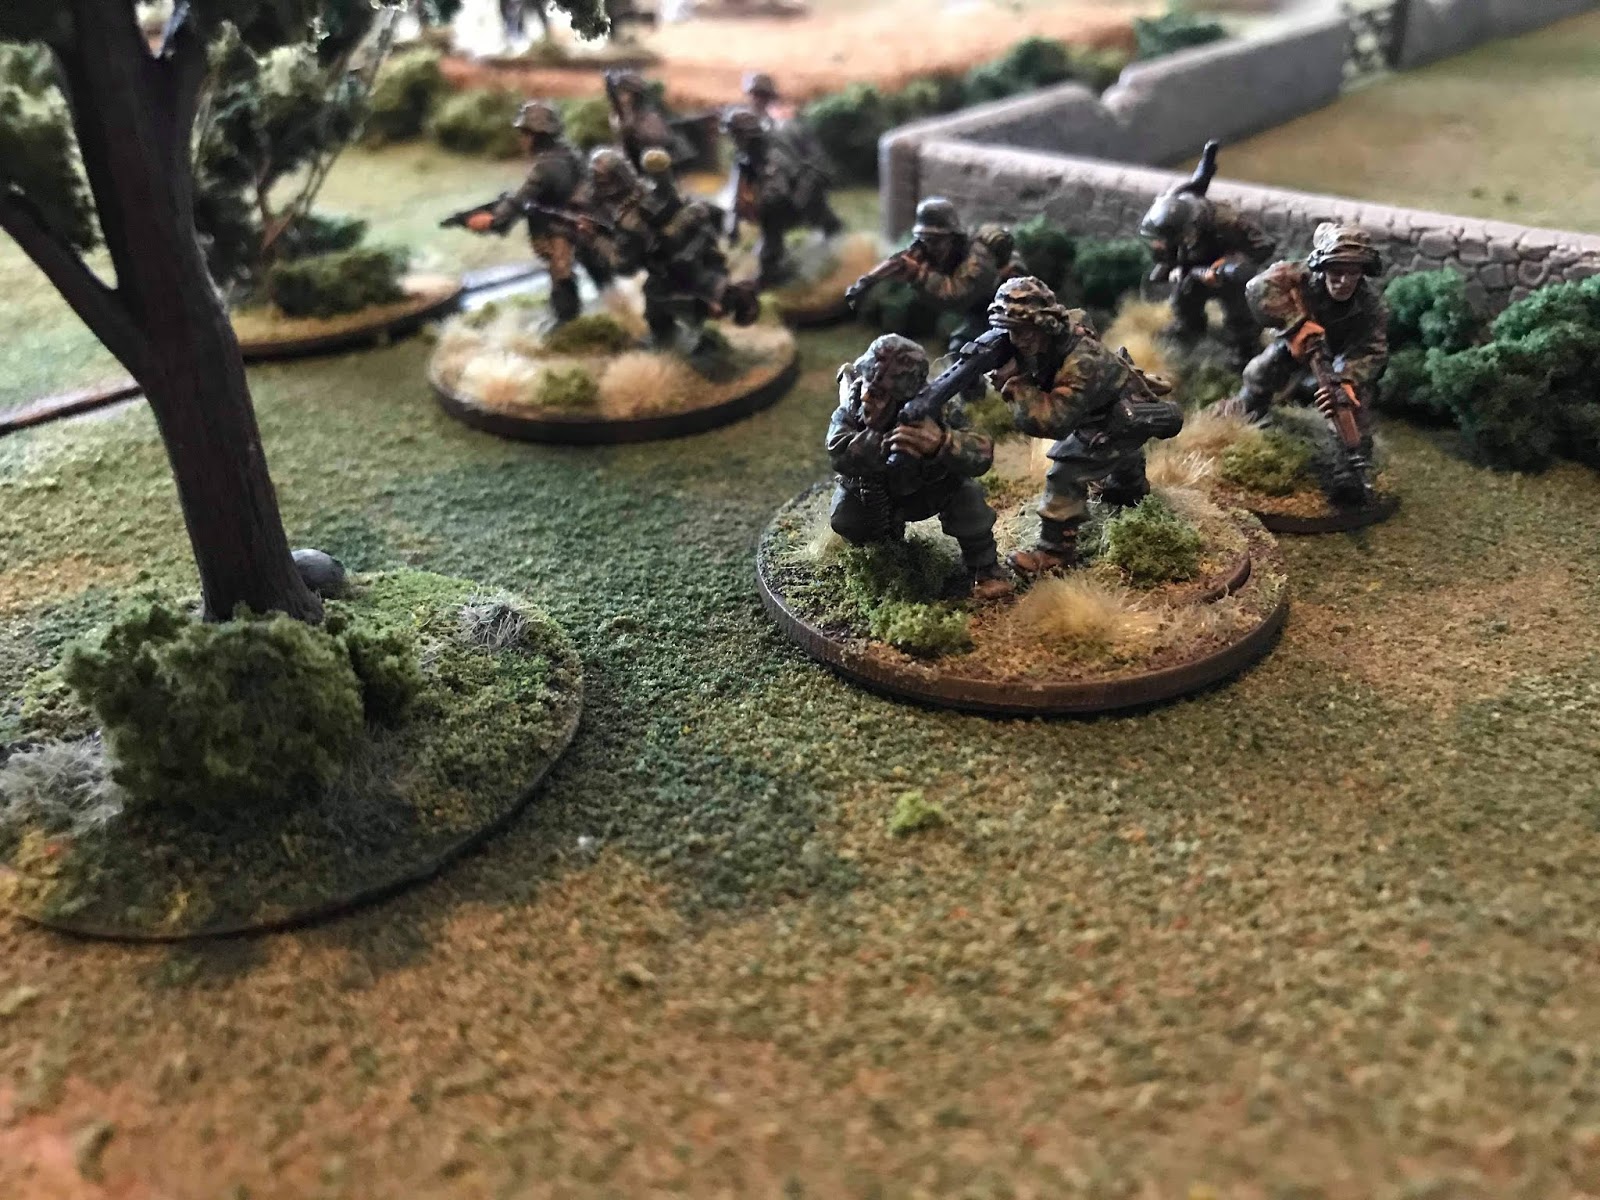
...but are checked by German grenadiers with MGs.
The US infantry also try the other flank...
...but with similar results.

The US infantry advance and the hurting of the German infantry was too little too late. Seeing their armoured support being shot into flames one by one while the Panthers being seemingly undestructable, the US infantry's hearts were not in it anymore. The US morale dropped and the counter attack for Hill 318 had failed in this sector.

Conclusion

Its was great to try out the Big Chain of Command rules for the first time! The rules worked really well eventhough there were only two players playing all four platoons.

The Americans had a really tough job in trying to handle all those Panther tanks. And as the Shermans started burning the US morale dropped, not only for the tank platoon but naturally for the infantry platoon aswell. They did inflict casualties on the German infatry but it was really too late. The Shermans kept hitting the front of those Panthers and were abit unlucky in not being able to knock out a single Panther. But it was probably very much like the situation on the field in 1944 aswell. :-) Eventhough we increased the tablesize for the game it was still very difficult for the Shermans to find a chance of flanking fire, as the Panthers wisely didn't advance much.

In hindsight the US infantry probably needed to get moving a bit earlier to draw the German infantry into sight and into the fire but the US advance were slowed down by loosing leaders to German machine guns.

We will return to Arracourt in a not too distant future to see if other neighbouring US platoons are more lucky in their attempts to take back Hill 318.

Monday, August 12, 2019

US Sherman Tanks in 28mm

Warlord Games resin Shermans in 1/56 scale


As the German side got a few Panthers done as can be seen HERE it was only fair for the Allies to get some reinforcements aswell. This is a full platoon of M4A3 Shermans in American service, mixing the 75mm and 76mm main gun versions.

They were made using Warlord Games’ resin kits that were replaced by plastics some time ago. Some of the stowage is from Die Waffenkammer but there are other bits in there aswell, like the crates of apples and leek and the chair from a dollhouse. The ”logs” are from the garden. :-)

There are no specific unit markings but they are inspired by tanks from the 3rd and 4th Armoured Division in autumn of 1944, hence the logs for unditching. They should however work fine with most American units in the European Theatre of Operations.


Sunday, June 30, 2019

Panther Tanks in 28mm

Warlord Games Panthers in 1/56 scale

You always need more German panzers right? So don't ask why, but three Panther ausf A are now finished. They are all Warlord Games plastic models with some Rubicon stowage and sprayed with Vallejo model air colours. Some AK and Mig filters and washes were also used, as well as Windsor Newton oils.

Two of the Panthers might be useful in a certain Pint Sized Campaign from TooFatLardies, but we will probably find some use for the third one too.

The camo and appearance were inspired by the Panther tanks in the 1st Battalion of the 12 SS Panzer Regiment in Normandy 1944.


Friday, June 14, 2019

AAR: Battle of Metz Game 2 - Counter Attack on the Bridgehead at Arnaville, september 1944

A Chain of Command Battlereport


Introduction

This is our second game set at the Arnaville bridehead in september 1944. The first one can be seen HERE.

As mentioned, the Americans had crossed the Moselle river at Arnaville in early september 1944. As their bridgehead threatened the German positions around the fortress city of Metz the 17th SS Panzer Division ("Götz von Berlichingen") was assigned with trying to contain the northern sector of the bridgehead. Under heavy fightning the Americans of the 5th Infantry Division ("Red Diamond") managed to get some support, including armour and tank destroyers, across the river.

Our first pair of games is based on the situation in mid September with the American starting to expand the bridgehead and the Germans trying to contain them. In our last game the American advance stopped as they failed to clear a farmhouse from its German occupants.

This second game sees the Germans launching a counter attack against the rattled US troops.

The Scenario

With the American advance from the bridgehead blunted the Germans counter attacked. The Americans had to try and delay the Germans long enough for the Americans to bring more troops to the sector to secure the bridgehead and continue the advance.

For this game we used the A Delaying Action scenario from the Chain of Command rule book.
The defending Americans start their patrol phase in an area roughly along their table short edge while the Germans start their patrol from their own table edge. To win the Germans must capture a US jump off point in the defender's area or drive the Americans off the board. As the Americans are somewhat disoriented they can't select entrenchments, preliminary bombardment or static defences for support.


The Forces

The Germans (Elements of the 17th SS Panzer Grenadier Division) fielded a regular Panzer Grenadier Platoon and picked a 222 armoured car, a 250 halftrack with a recce team and an Adjutant as support.

The Americans (10th Infantry Regiment of the 5th Infantry Division) fielded a regular Rifle Platoon. Adjusted for platoon ratings the Americans selected a Sherman M4 75mm tank and an extra Bazooka team for support.

We kept our support secret until they were deployed.

The Table


The Deployment


German jump off points in blue.
American jump off points in red, and the objective in white.

The Game


Having failed to take the farm the Americans were now on the alert for a German counter attack. And sure enough, in due time the first Germans re-appeared by the farm. The American soldiers stayed down as the Germans cautiously advanced, first by the wall at the farm and then out in the wheat field.

The first Germans to appear...

...soon followed by others.

The Americans got even lower into their cover as a 250 halftack came clanking down the road, with its MG42 gunner on the lookout for the Americans known to be further down the road somewhere. Keeping the initiative a German squad sprinted across the open ground in front of the farm to a small group of trees next to the road. Knowing that the halftrack ment trouble a US bazooka team in a ditch by the crossroad took aim and fired, only to see its shot go wide. They didn't get a second chance as they both were cut down by murderous fire in return.

A German squad sprints forward...
...as a halftrack enters the scene.

A courageous bazooka team. That failed to hit their mark and paid the price.

With the German infantry by the road now close two squads of American infantry opened fire from the ruins by the crossroad. The Americans were getting the upper hand in the ensuing fire fight but the Germans machine guns also took their toll. The halftrack advanced with its machine gun blazing and was soon joined by a 222 armoured car, coming quickly down the road to even the odds.


Americans open fire from the ruins.


The Germans by the road takes casualties.


The halftrack advance...


...and is joined by the armoured car.


On the other flank a German squad had left the wheat field and advanced unopposed. Their fortune soon changed however as a Sherman tank came up the road to meet them and started shelling them with HE to great effect. It got even worse as the third US squad opened fire on them from the ruins.


With the flanking German unit diving for cover another German squad advanced through the central group of trees. With the Sherman still driving along the road to get into a good firing position and with one US squad further back, the two other American squads took alot of beating. The preasure eased a bit as a second US bazooka team ambushed the armoured car shooting it in the side at close range. Too close as it turned out, as the following explosion killed both men of the bazooka team. A feat worthy of posthumous medals for sure.


Yet more Germans advance.

The Sherman fails to hit the armoured car.


The 222 advance to put preassure on the Americans...

...only to be ambushed and blown up, the explosion killing the bazooka team!

The Americans were now struggeling. Shock mounted quickly and the Platoon Lieutenant running forward across the road to help restore order was too little too late. Realising the Americans were pinned and under severe stress the Germans moved closer for the kill, with machine guns firing at close range. First one US squad broke and then another, making the Americans retreating from the field altogether. The Americans would have to find another way to get out of the bridgehead.  

The Americans get pinned as they become overcome by shock...

..as the Germans move in close for the kill.


The Platoon Lieutenant sprinting to get to the distressed US squad across the road.

Too late. The Americans flees the field.

Conclusion


Another exciting game of Chain of Command. This one too could have gone either way eventhough the Germans were clear winners in the end. For awhile it looked like the two German squads on either flank was in deep trouble but their vehicles bougth them some time and their officers managed to get them back on track. Also, the American tank - competing with the hardpressed squads for those Junior officer initiatives - failed to find a good position after its initial attack and failed to get to full effect before it was all over.

Our two games reflected history as the Americans didn't get the break out they wanted from the Arnaville bridgehead in september. The American rapid general advance across France came to a stop, with Patton's Third Army fighting for the area around the river Moselle and the city of Metz for months to come. We just might revisit those battles some day, with more of the 5th US Infantry Division and the 17th SS Panzergrenadiers.