Friday, June 14, 2019

AAR: Battle of Metz Game 2 - Counter Attack on the Bridgehead at Arnaville, september 1944

A Chain of Command Battlereport


Introduction

This is our second game set at the Arnaville bridehead in september 1944. The first one can be seen HERE.

As mentioned, the Americans had crossed the Moselle river at Arnaville in early september 1944. As their bridgehead threatened the German positions around the fortress city of Metz the 17th SS Panzer Division ("Götz von Berlichingen") was assigned with trying to contain the northern sector of the bridgehead. Under heavy fightning the Americans of the 5th Infantry Division ("Red Diamond") managed to get some support, including armour and tank destroyers, across the river.

Our first pair of games is based on the situation in mid September with the American starting to expand the bridgehead and the Germans trying to contain them. In our last game the American advance stopped as they failed to clear a farmhouse from its German occupants.

This second game sees the Germans launching a counter attack against the rattled US troops.

The Scenario

With the American advance from the bridgehead blunted the Germans counter attacked. The Americans had to try and delay the Germans long enough for the Americans to bring more troops to the sector to secure the bridgehead and continue the advance.

For this game we used the A Delaying Action scenario from the Chain of Command rule book.
The defending Americans start their patrol phase in an area roughly along their table short edge while the Germans start their patrol from their own table edge. To win the Germans must capture a US jump off point in the defender's area or drive the Americans off the board. As the Americans are somewhat disoriented they can't select entrenchments, preliminary bombardment or static defences for support.


The Forces

The Germans (Elements of the 17th SS Panzer Grenadier Division) fielded a regular Panzer Grenadier Platoon and picked a 222 armoured car, a 250 halftrack with a recce team and an Adjutant as support.

The Americans (10th Infantry Regiment of the 5th Infantry Division) fielded a regular Rifle Platoon. Adjusted for platoon ratings the Americans selected a Sherman M4 75mm tank and an extra Bazooka team for support.

We kept our support secret until they were deployed.

The Table


The Deployment


German jump off points in blue.
American jump off points in red, and the objective in white.

The Game


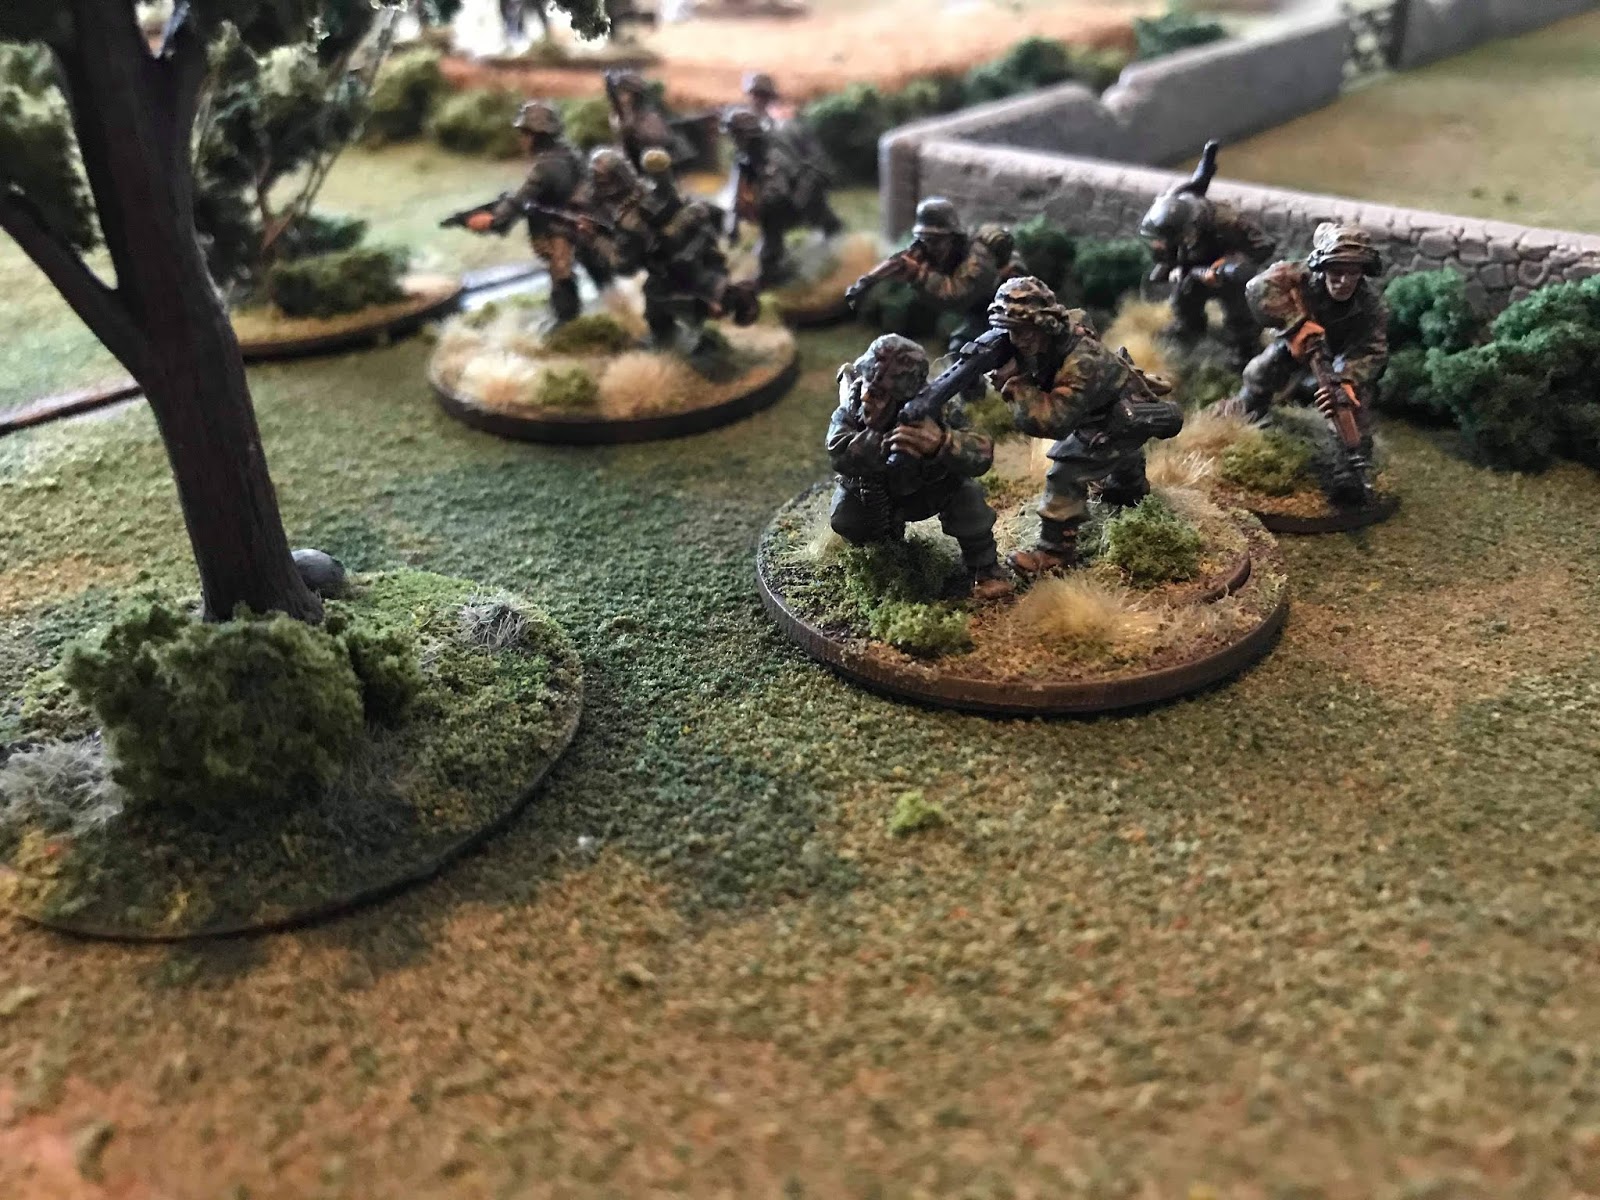
Having failed to take the farm the Americans were now on the alert for a German counter attack. And sure enough, in due time the first Germans re-appeared by the farm. The American soldiers stayed down as the Germans cautiously advanced, first by the wall at the farm and then out in the wheat field.

The first Germans to appear...

...soon followed by others.

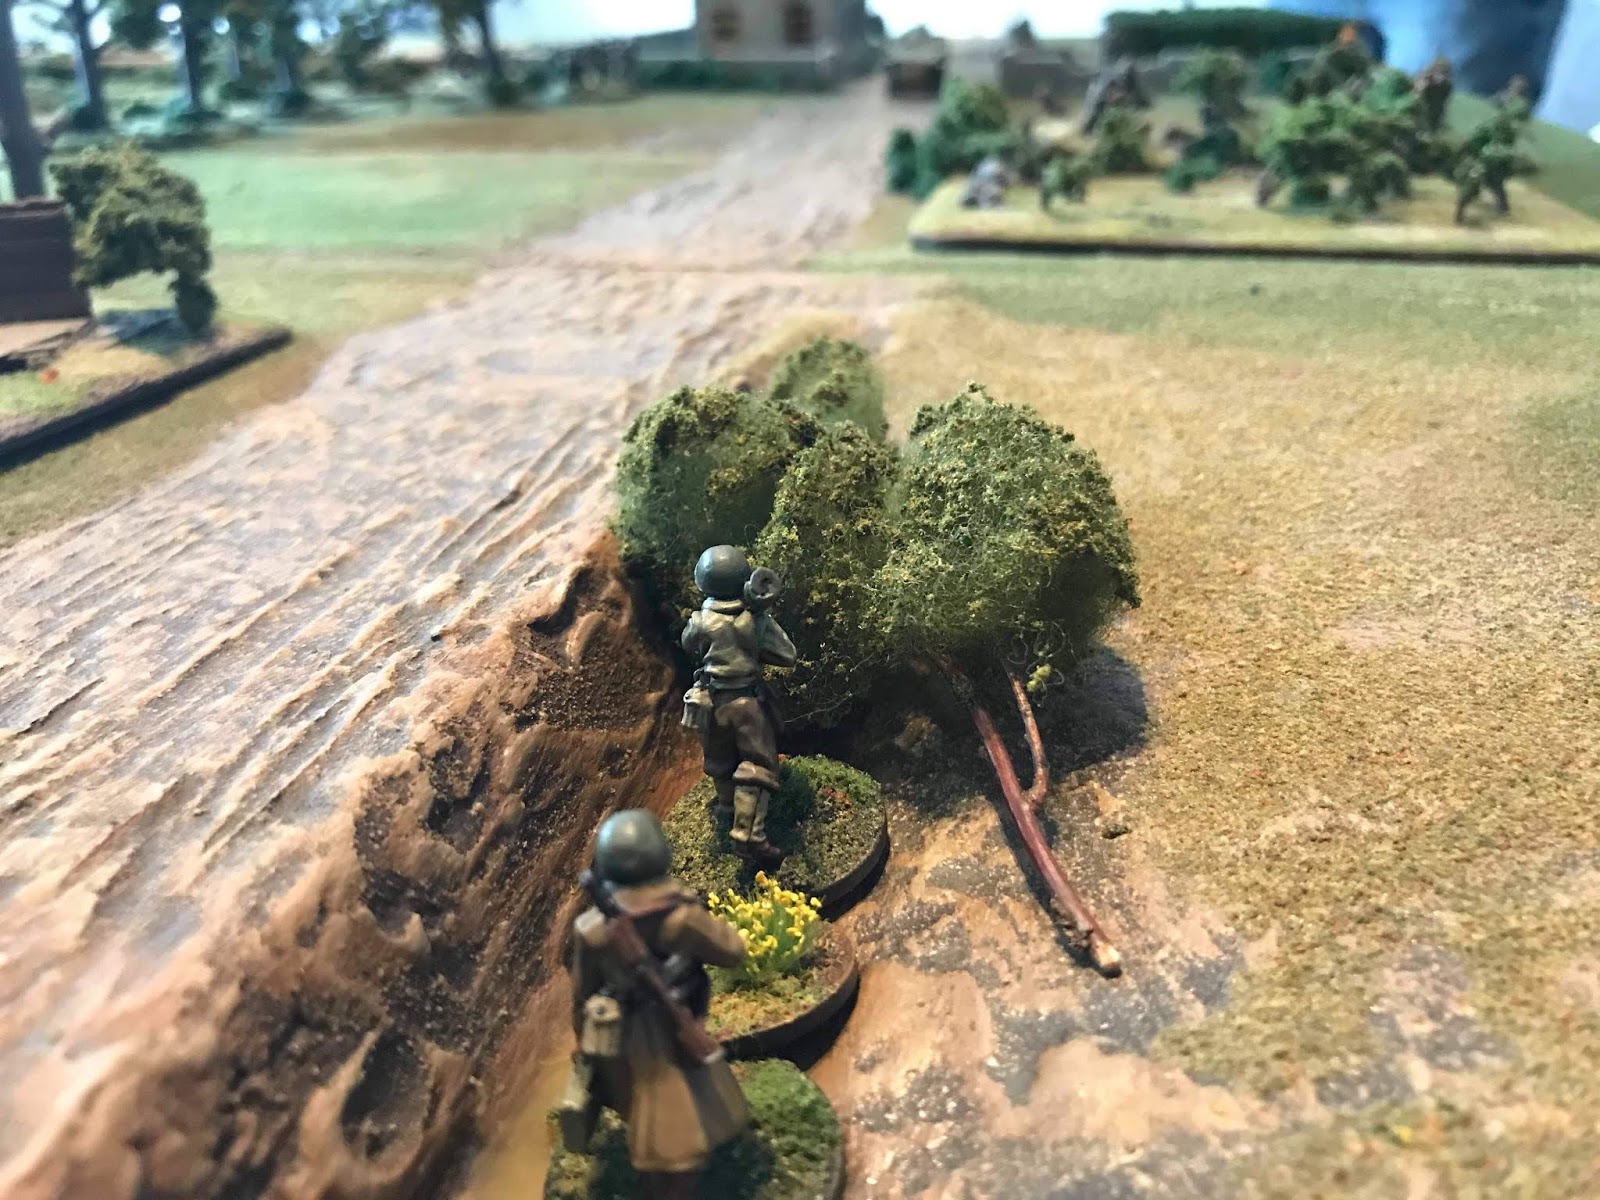
The Americans got even lower into their cover as a 250 halftack came clanking down the road, with its MG42 gunner on the lookout for the Americans known to be further down the road somewhere. Keeping the initiative a German squad sprinted across the open ground in front of the farm to a small group of trees next to the road. Knowing that the halftrack ment trouble a US bazooka team in a ditch by the crossroad took aim and fired, only to see its shot go wide. They didn't get a second chance as they both were cut down by murderous fire in return.

A German squad sprints forward...
...as a halftrack enters the scene.

A courageous bazooka team. That failed to hit their mark and paid the price.

With the German infantry by the road now close two squads of American infantry opened fire from the ruins by the crossroad. The Americans were getting the upper hand in the ensuing fire fight but the Germans machine guns also took their toll. The halftrack advanced with its machine gun blazing and was soon joined by a 222 armoured car, coming quickly down the road to even the odds.


Americans open fire from the ruins.


The Germans by the road takes casualties.


The halftrack advance...


...and is joined by the armoured car.


On the other flank a German squad had left the wheat field and advanced unopposed. Their fortune soon changed however as a Sherman tank came up the road to meet them and started shelling them with HE to great effect. It got even worse as the third US squad opened fire on them from the ruins.


With the flanking German unit diving for cover another German squad advanced through the central group of trees. With the Sherman still driving along the road to get into a good firing position and with one US squad further back, the two other American squads took alot of beating. The preasure eased a bit as a second US bazooka team ambushed the armoured car shooting it in the side at close range. Too close as it turned out, as the following explosion killed both men of the bazooka team. A feat worthy of posthumous medals for sure.


Yet more Germans advance.

The Sherman fails to hit the armoured car.


The 222 advance to put preassure on the Americans...

...only to be ambushed and blown up, the explosion killing the bazooka team!

The Americans were now struggeling. Shock mounted quickly and the Platoon Lieutenant running forward across the road to help restore order was too little too late. Realising the Americans were pinned and under severe stress the Germans moved closer for the kill, with machine guns firing at close range. First one US squad broke and then another, making the Americans retreating from the field altogether. The Americans would have to find another way to get out of the bridgehead.  

The Americans get pinned as they become overcome by shock...

..as the Germans move in close for the kill.


The Platoon Lieutenant sprinting to get to the distressed US squad across the road.

Too late. The Americans flees the field.

Conclusion


Another exciting game of Chain of Command. This one too could have gone either way eventhough the Germans were clear winners in the end. For awhile it looked like the two German squads on either flank was in deep trouble but their vehicles bougth them some time and their officers managed to get them back on track. Also, the American tank - competing with the hardpressed squads for those Junior officer initiatives - failed to find a good position after its initial attack and failed to get to full effect before it was all over.

Our two games reflected history as the Americans didn't get the break out they wanted from the Arnaville bridgehead in september. The American rapid general advance across France came to a stop, with Patton's Third Army fighting for the area around the river Moselle and the city of Metz for months to come. We just might revisit those battles some day, with more of the 5th US Infantry Division and the 17th SS Panzergrenadiers.


Thursday, May 30, 2019

AAR: Battle of Metz Game 1 - The Bridgehead of Arnaville, september 1944

A Chain of Command Battlereport


Introduction

In September 1944 the Americans had left Normandy behind and raced across France. As the Americans closed in on the fortress city of Metz the Germans tried to fight back and stem the tide. This time at the river Moselle, close to the French village of Arnaville.

In early September the 17th SS Panzer Division ("Götz von Berlichingen") retreated across the Moselle river. The Americans of the 5th Infantry Division ("Red Diamond") were right on their heels however and managed to cross the river Moselle and establish a bridgehead on the other side of the river, threatening to outflank the German positions in the city of Metz.

After the first days of fighting at the bridgehead, the Americans were able to get some support, including armour and tank destroyers, across the river. Our pair of games is based on the situation in mid September with the American starting to expand the bridgehead and the Germans trying to contain them.

The strategic situation with the US 5th Infantry Division
and the 17th SS Panzergrenadier Division fighting over
the Moselle river at Arnaville, south of the fortress city Metz..

The US breaking out from the Arnaville bridgehead.
The small red square marking our table on the map.

The Scenario

As the Americans expanded the bridgehead their scouts reported enemy troops by a farmhouse in the line of advance. The Germans had to be driven off from their position for the attack to continue.

For the first game we used the Flank Attack scenario from the Chain of Command rule book.
The defending Germans start their patrol phase in one quarter of the board while the attacking Americans have the opportunity to start their patrol markers in a flanking position. To win the Americans have to drive the Germans off the board while maintaining a Force Morale of at least 3.

The Forces

The Americans (10th Infantry Regiment of the 5th Infantry Division) fielded a regular Rifle Platoon. Adjusted for platoon ratings the Americans got 11 support points and selected a .50 cal Heavy Machine Gun (5 pts), a Flamethrower (3 pts), a Pre-Game Barrage (2 pts) and a Wire Cutting Team (1 pts).

The Germans (Elements of the 17th SS Panzer Grenadier Division) fielded a regular Panzer Grenadier Platoon and picked a MG42 tripod MMG (4) as support.

We keep our support secret until they were deployed.

The Table

A 6x4' table.

Deployment

US Jump off points in red.
German Jump off points in blue.


The Game

As the pre-game barrage rained down over the Germans the Americans deployed a squad amongst the trees of their central jump off point, with the intention to quickly send a pair of scouts forward.

The Germans, being concerned of not getting any men on the field in time, managed to get a squad through the barrage and deployed by the farmbuilding, effectively shutting down any ideas of US scouts claiming ground. The Germans were clearly going to have to be attacked in full. This became even more evident as the barrage ended early.

The Americans started to build a base of fire over at the ruined buildings, deploying a Heavy machine gun and a rifle squad. The Germans responded by having a tripod MG42 opening up from a farmhouse upstairs window.

The US leading squad moves carefully closer through the trees.

The US fire base.

The German tripod MMG upstairs in the farmhouse.

The German machine guns took a heavy toll on the US fire base, as the US assault squad moved closer out of sight amongst the trees. With casualties mounting the US deployed its Lieutenant by the fire base to keep up the fire and rally shock. The Platoon Sergeant joined the assault squad, together with a flame throwing team.

A flanking US squad appeared which started to put covering fire on the German machine guns to lessen their effect. This triggered yet another German squad to appear. With a third German squad moving upstairs in the farmhouse both platoons were now fully deployed.

The flanking US squad.
More Germans appear.
Both sides took some severe punishment in the continued fire fight. At the hight of the battle the US assault squad moved up to the treeline and the flame thrower fired on one of the two German squads outside the farmhouse to great effect. At the same time the remaining US troops fired on the other German squad outside by the wall, pinning them. This was the critical moment - the US assault squad closed in for the kill with hand to hand combat over the low wall. The German squad was wiped out but many - too many - Americans fell as well. The flame thrower got one more shot off before it was eliminated by the Germans. The victorious US assault squad also found itself very exposed and took fire from the Germans in the farmbuilding. The pressure got too great and the US squad broke, falling back across the field only to be shot down as they run. With that the US Morale got too low to complete the mission and the attack was called off.


The US Heavy machine gun tries to keep the pressure on the Germans.

The US assault goes in, with devastating results for both sides.
Conclusion

A great game! The Americans had a tough job getting at all those German machine guns in good cover. As the barrage ended early the Americans had to build their attack gradually. The right moment appeared eventually but the assault proved too costly also for the exposed attackers so they weren't able to get a foothold in the farm. In the end the German machine guns cost the American Force Morale too much under the build up to the assault so that when the attack finally was launched the US Force Morale was already dangerously low. Good and tense game though! With the American advance blunted the Germans just might do what they very often do: counter attack! More of that in the next AAR: At the Bridgehead of Arnaville 1944 - Game 2!


Tuesday, April 9, 2019

A First Time at Salute and the Battle of Dänholm 1807

Salute 2019

Northern Wargaming - in the shape of Andreas, Joakim, Robert and Mattias - all visited Salute (an epic wargaming event, hosted by the South London Warlords) for the first time this year. And what an experience it was! To meet some of our heroes of the wargaming community - like the Perry brothers and Rich of TooFatLardies - was simply fantastic. Also, to have the opportunity to say thank you in person to traders like Empress Miniatures, Warbases and Bad Squiddo Games for putting such great products on the market for us all to buy. :-)

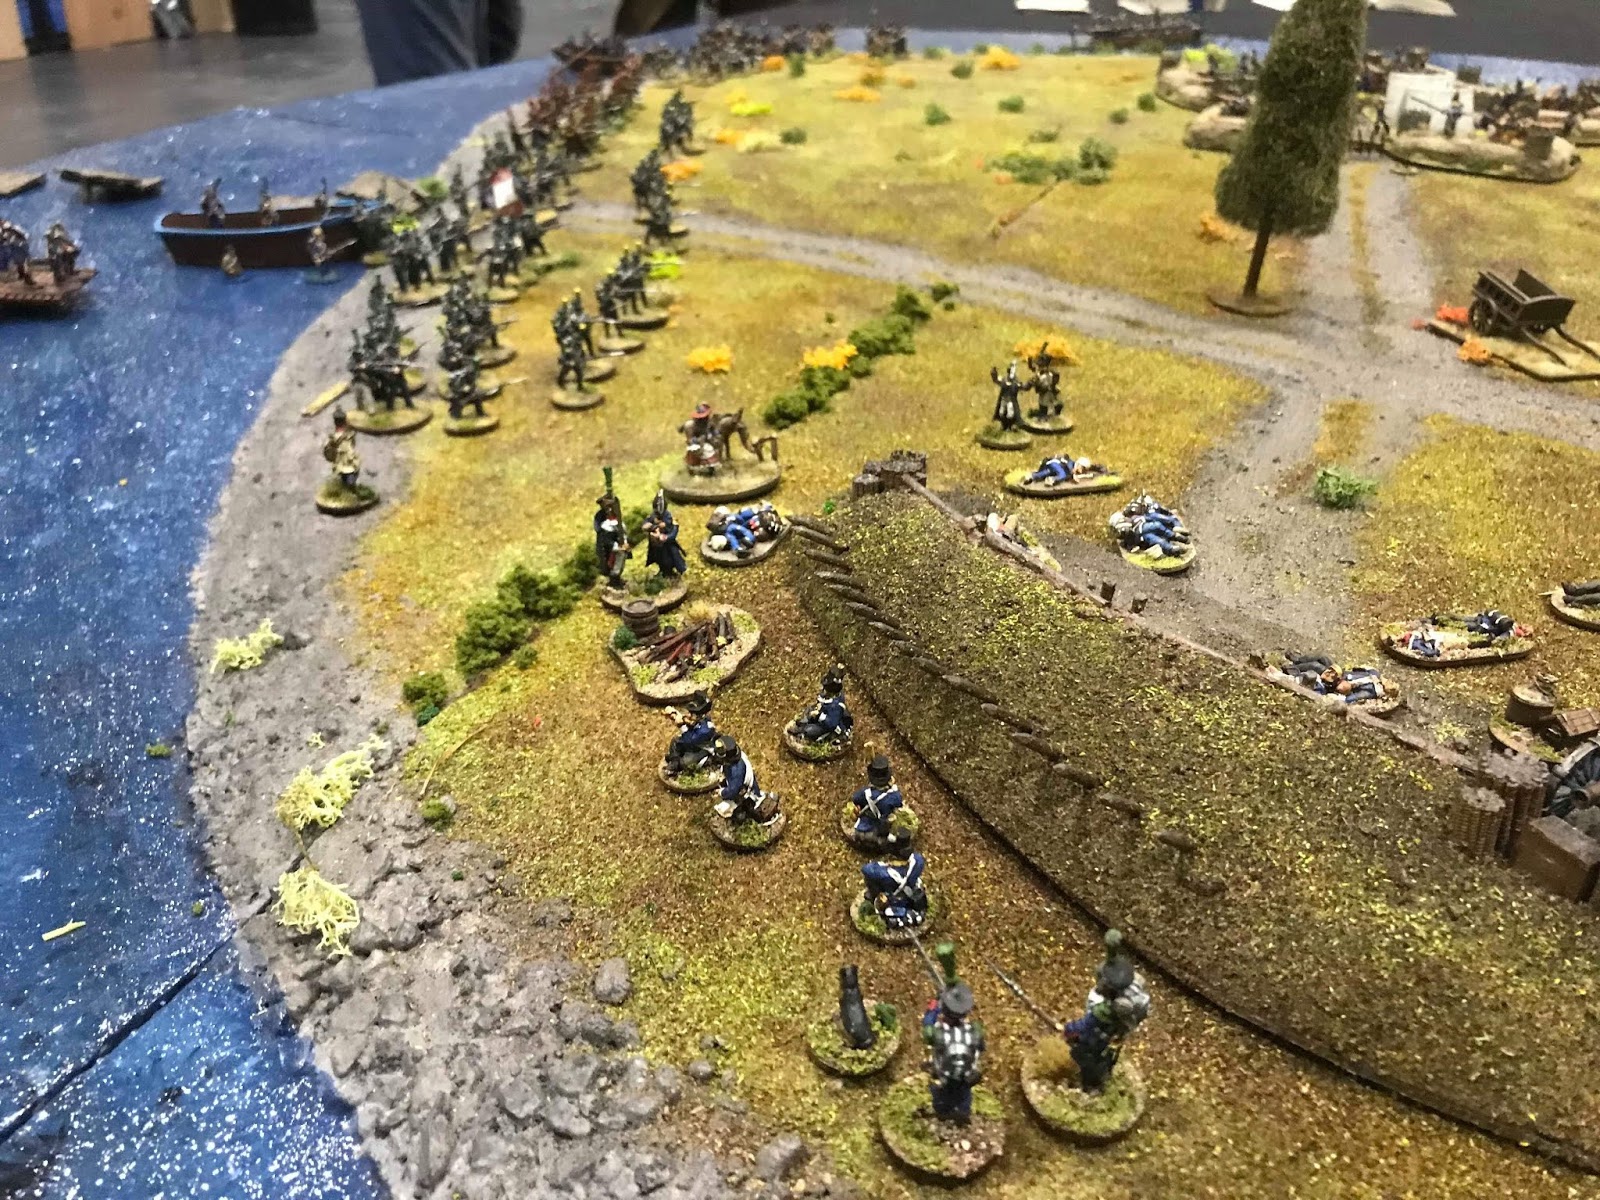
Also, Andreas and Mattias - together with Michael from the Dalauppror blog and many other great guys - put on a display game of the French making a surprise attack on the Swedish held islet of Danholm outside Stralsund, in 1807. Its in Swedish Pomerania, present day Germany, with Prussia and Russia knocked out of the war. With the British leaving to attack Copenhagen Sweden was alone againt the French in northern mainland Europe. The French laid siege to the Swedish fortress city of Strasund. In August the Swedes had to abandon the city itself and move to the islet of Danholm in the Waters outside of Stralsund. The scenario portrays the French surprise landing on Danholm, with the 3rd French light infantry regiment and Sailors of the Guard leading the attack. 


It was a true joint effort with contributors from Sweden, Finland and England. For the game we used the newly released Rebels and Patriots rules written by Michael together with Dan Mersey and published by Osprey Publishing.

Between the two of us our contribution was to paint - and convert - just shy of onehundred French miniatures as a part of the assault force. Chasseurs and Voltiguers of the 3rd Light infantry regiment, Sailors of the Imperial Guard, Sappeurs and Mineurs. We also brought some add on terrain for the table. It was a true pleasure to see it all finally come together on location Saturday morning - a beautifully made table with so many skilled contributors adding trees, buildings, a fort, boats, pontoons, civilians, prisoners, casualties, soldiers, a destroyed bridge, it just goes on... A true testament to what a combined effort can achieve.


Andreas with our heroes.

Mattias summarizing the day.

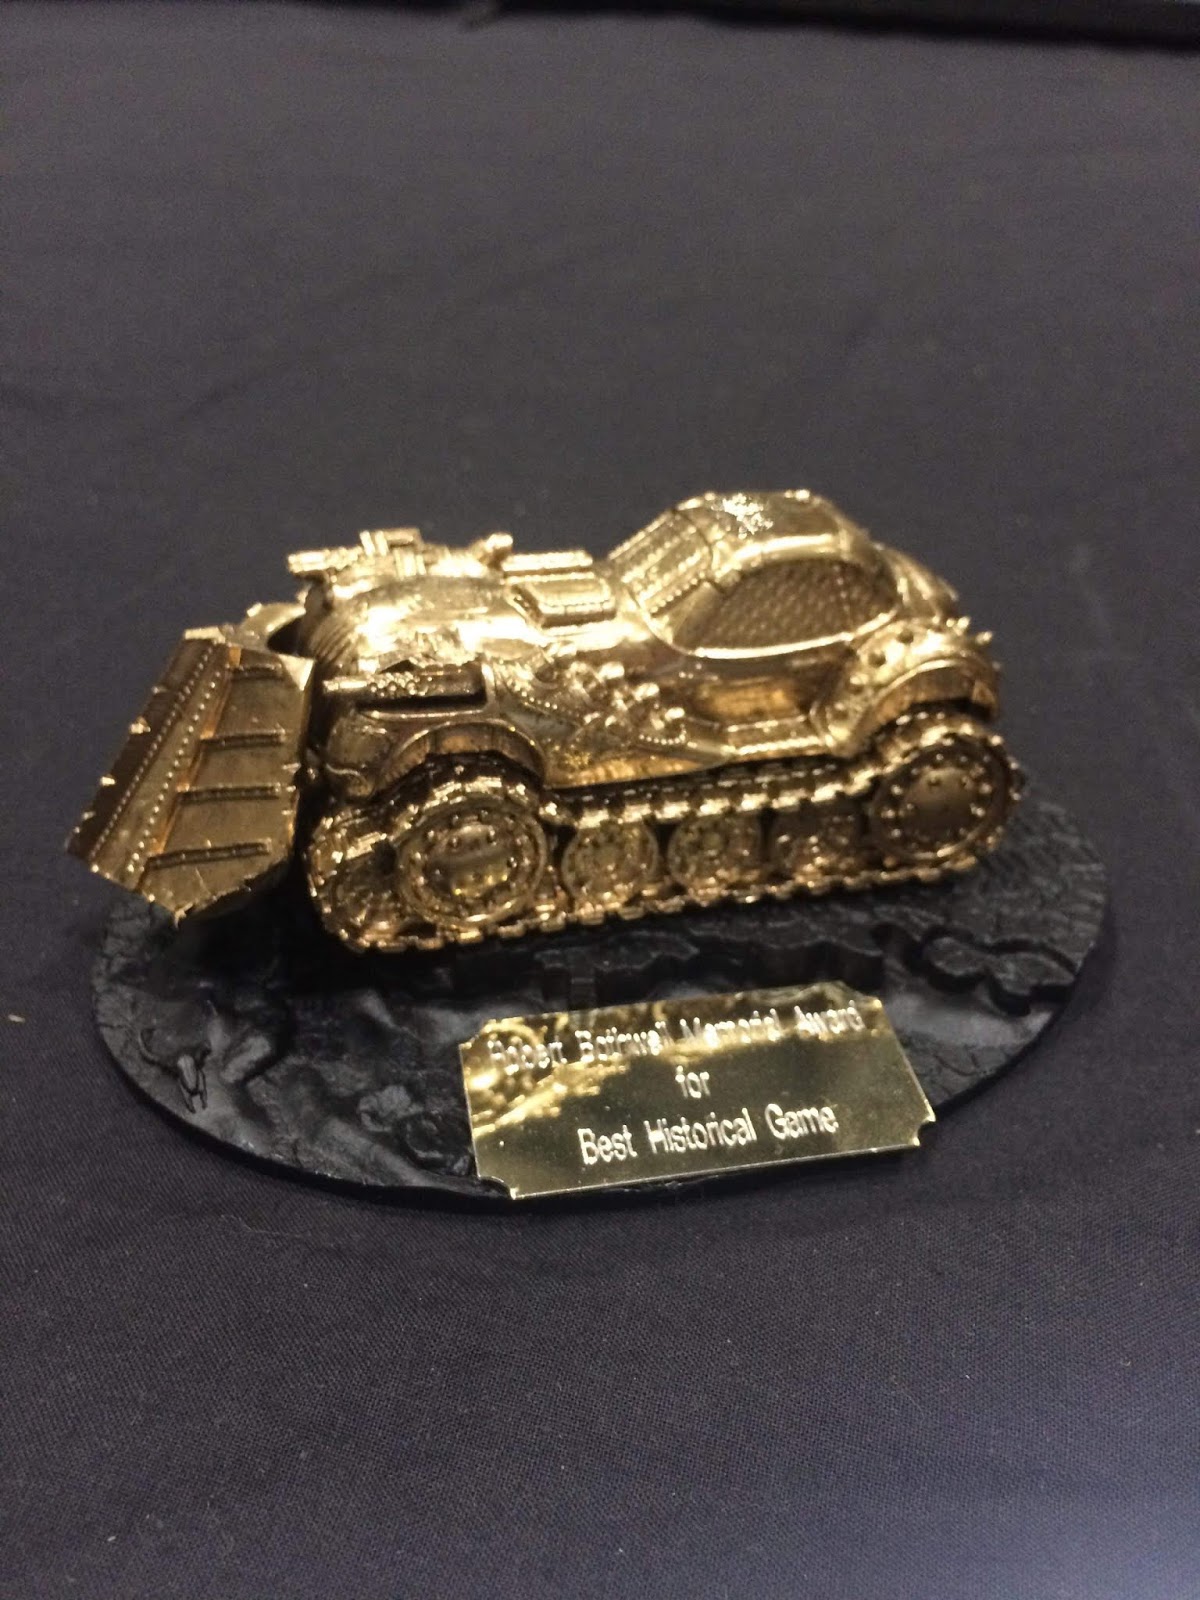
The Roberth Bothwell Memorial Award for Best Historical Game


Friday, March 29, 2019

Swedish Soldiers of the Napoleonic Wars (Part V) - The Infantry Battalion and the use of Jaegers

The Swedish Napoleonic Army organisation in short (very short!)

The core of the Swedish army of the Napoleonic Wars was a standing army that during peace time saw only limited time of drill and other actual time serving in the army. These are the alloted (indelta) units. What they lacked in training were to some extent made up with experience as many had served for 10+ years and loyalty to the unit as they served together with men from their own neighbourhood. The rest of the army was made up from enlisted (värvade) units. During the war there were also some militia being used from the vargering and the lantvärn. For a more in-depth look you might want to read this article by Magnus Olofsson.

Regimental Jaegers of the Upland Regiment
(note the black belts and green plume denoting their jaeger capacity).
Picture from the Anno 1808 - Uplands Regemente
re-enactment group, please see more of them HERE

The Battalion and the use of Jaegers 

The battalion, usually some 500-600 men strong, was the basic tactical infantry unit in the Swedish army. Most battalions had four companies with two platoons per company. Some of the enlisted units were organized differently. From 1806 the infantry was to be deployed in two ranks but this was supposedly changed back to three ranks in 1813.

For skirmishing action the Swedish army had some, often enlisted, units of "pure" jaeger like the Wermlands Fältjägare. However, from 1805, what was more prominent was the use of Line Infantry Jaegers or regementsjägare ("regimental jaeger"). The term regimental jaeger is a bit confusing as they were formed from their parent battalions but as mentioned below they were sometimes merged into bigger units and used at a higher organisational level.

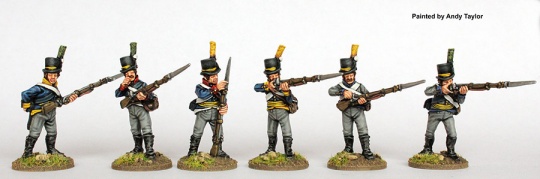
Perry Miniatures Swedish infantry in 28mm (SWED 4).
Various regiments. Note the green plumes on the regimental jaegers.
Also, their (partly) blacked belts. I would
paint all belts of the jaegers black however.
Perry Miniatures Wermland Jaegers (SWED 12), an enlisted unit.

The introduction of regimental jaegers followed Sweden’s war against Russia 1788-1790. The efficiency of light troops in broken terrain resulted in an increased Swedish focus on light infantry action. Not only were all line infantry to be trained in fighting in dispersed order but also every Swedish battalion was to have a platoon of jaegers selected from suitable men of the battalion. Originally, each infantry battalion was to form a 53 men strong jaeger platoon (one officer, two NCO’s, two corporals and 48 privates) but in 1806 this was doubled to a 106 men strong jaeger company per battalion. In the 1813, the number of jaeger per battalion was again lowered to 58 officers and men (one officer, two NCO’s, four corporals, one bugler and 50 privates).

The employment of these Line Infantry Regimental Jaegers varied; sometimes they were used as skirmishers for their parent battalion, sometimes merged to a regimental jaeger company or battalion, but most often they were removed from their parent battalions and formed into a light infantry battalion held at brigade level.

The Regimental Jaeger Uniform 

As noted above the Swedish Line Infantry Jaegers ("regementsjägare") wore the same uniform as their parent unit. However, their leather belts were often black instead of white and they wore a green plume. Jaegers of non Line Infantry units often had a similar change compared to their parent regiment uniform aswell.

Earlier posts on Swedish Soldiers of the Napoleonic Wars

Part I - Swedish Soldiers of the Napoleonic Wars - an Overview
Part II - Swedish Soldiers of the Napoleonic Wars - a Modeling Tutorial for 1806-1809
Part III - Swedish Soldiers of the Napoleonic Wars - Uniform Colours and a Painted Example
Part IV - The Swedish Soldier's Greatcoat - a Tutorial

Friday, March 15, 2019

AAR: It's a trap! A Star Wars Skirmish in 28mm

Legends of the Outer Rim - using GW's Legends of the Old West for Star Wars Skirmish Gaming

Introduction 

We've started using the out of print 'Legends of the Old West' from Games Workshop Historical for some Star Wars skirmish gaming. Its a fast and fun ruleset, akin to GW's Lord of the Rings engine, that provides great games.

We have set our scene to rebels operating on the remote planet Akiva, where a rebel group run sabotage missions, a few years before the Battle of Yavin and the destruction of the first deathstar.

In our previous game our rebels managed to get their hands on hands on plans to a powerstation. Please see HERE.

With no time to spare and having had their ship under guard by the Imperium, the rebels had to pay a henchman of  Surat Nuat - the local crime lord - to airlift them and their equipment to the area where the power station was located.

Almost immediately after their transport took of they saw stormtroopers closing in on their position. It was a trap! They had beed betrayed and now had to try and blast a way out, trying to get their gear with them.

We used the Bank Robbery scenario from the Legends of the Old West rulebook, originally where a surrounded group of robbers have to shoot themselves out and try and leave the table with their loot.

The opposing forces

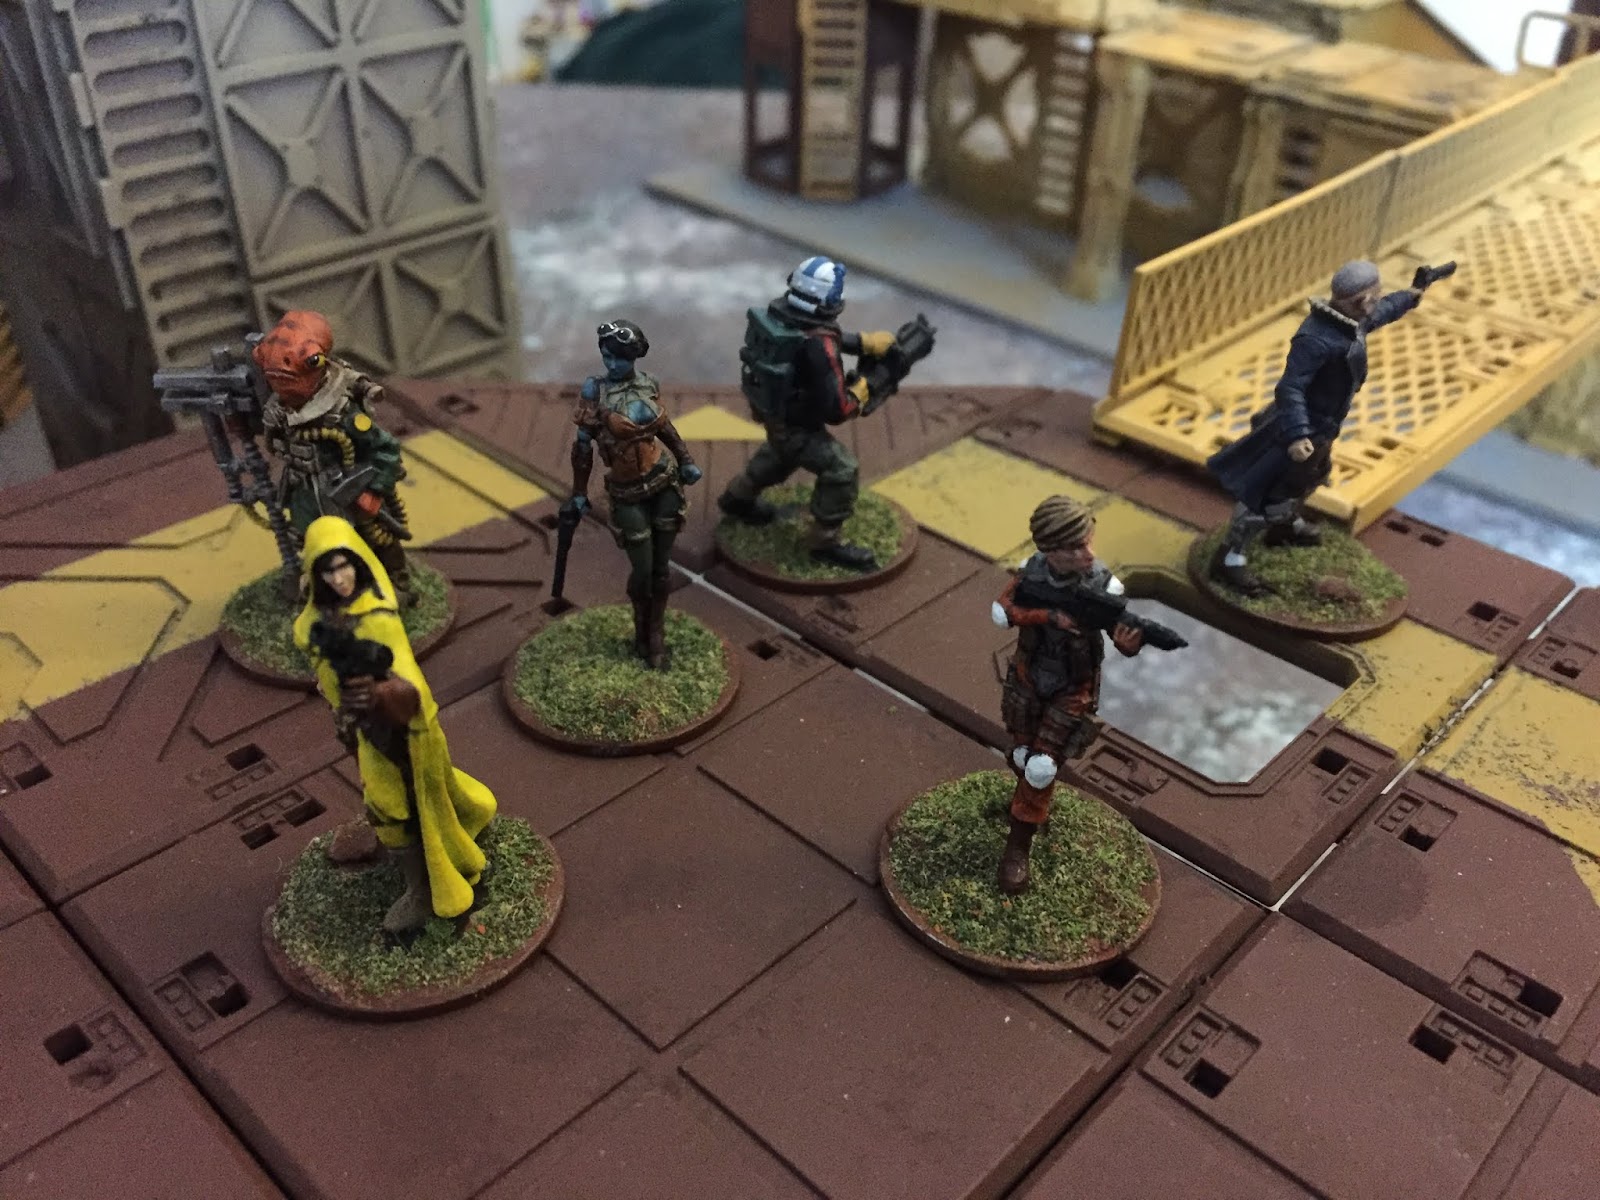
The Rebels

The Imperial Stormtroopers
The table

A 4x4' table with lots of buildings.
And the rebels at the landing platform.
The Game

The scenario kicked off with the Rebels being deployed on the landing platform. As their transport took off they picked up their gear and got ready to move. It was quiet. Too quiet...

"I have a bad feeling about this."

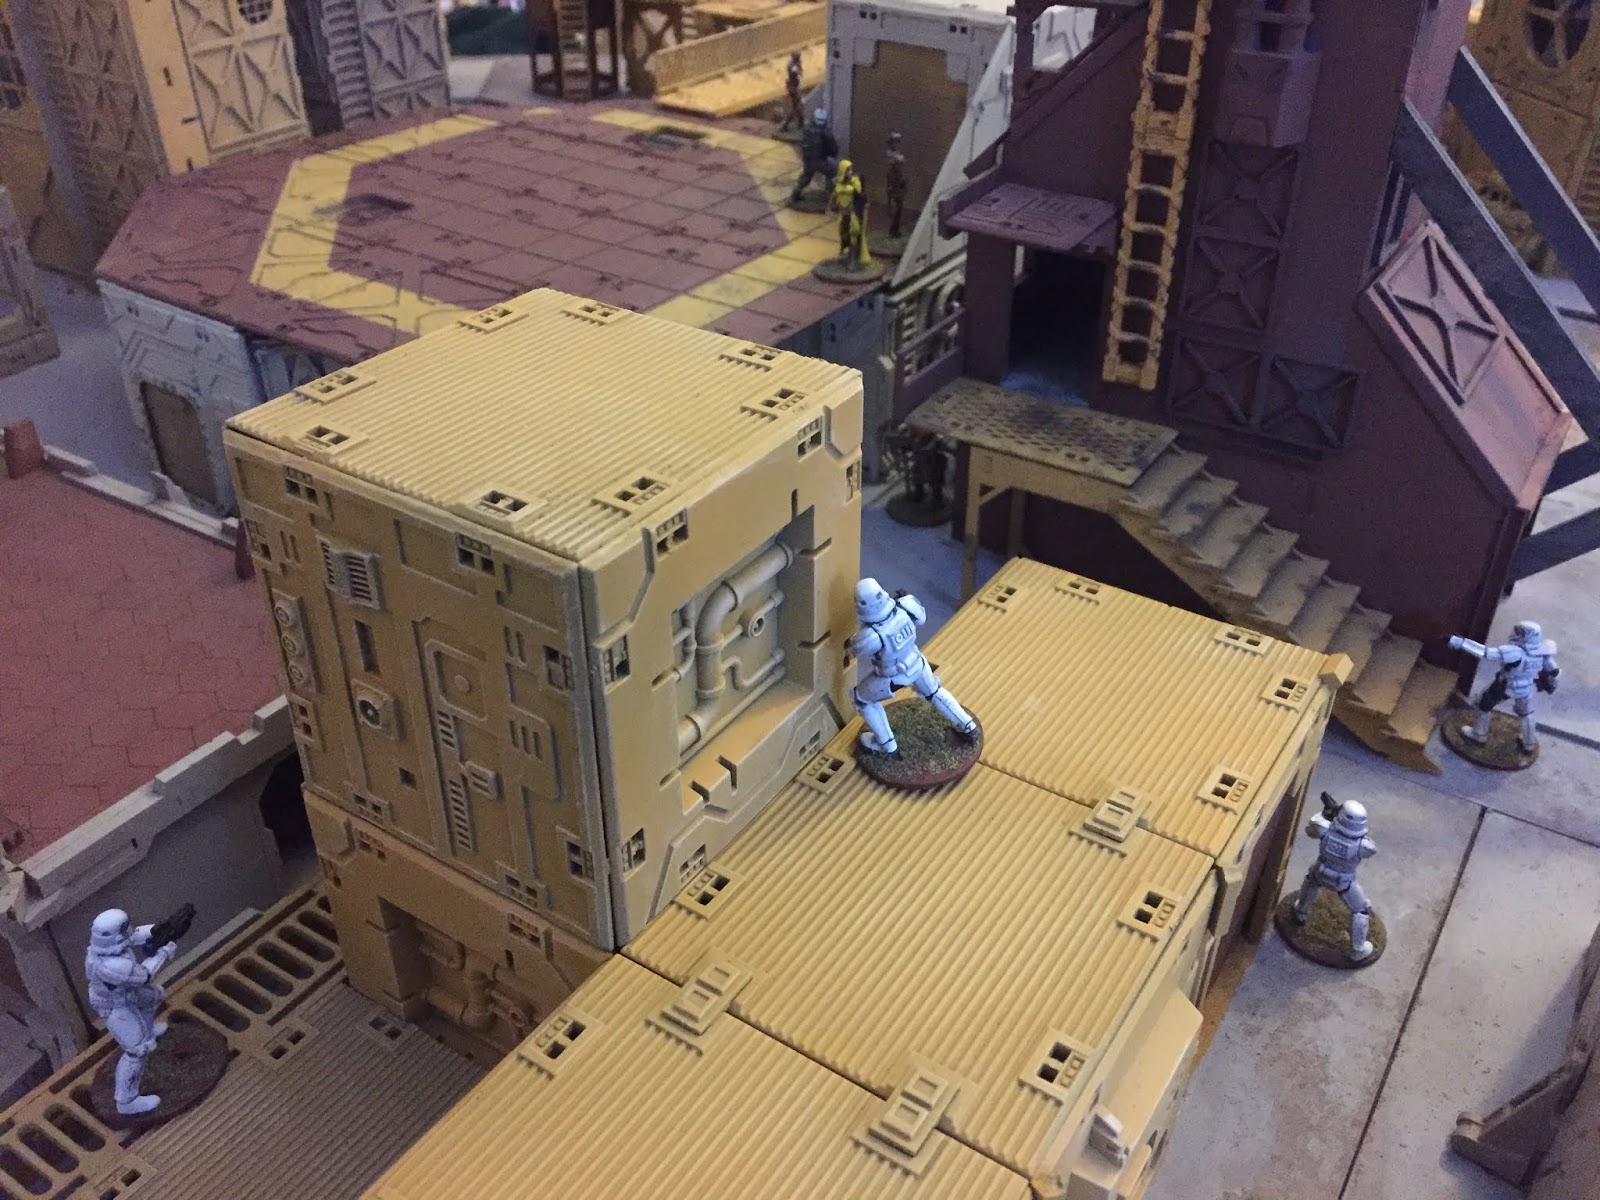
Stormtroopers waiting to close the trap.

Almost immediately the Rebels saw stormtroopers closing on their position. "It's a trap!"
Qickly coming up with a plan they thought it best to blast their way out at a single exit point, trying to get local supperioriy in numbers at that spot. So a pair of Rebels opened up with covering fire as the others moved as quickly as they could with their heavy equipment to the ladder at the end of the platform. With laser blasts flying through the air the Rebels scrambled down the ladder, only for their Leader to lose his footing and tumble head first into the pavement below. Not a great start to their escape.

"The Empire is here, we got to move!"

Their escape starts badly as the rebel leader takes a bad step
climbing down the ladder and falls, hurting himself badly.
More stormtroopers appears.


As the Rebels were moving towards their chosen exit the brave few holding their ground and proving covering fire was under immense preasure. Not before long the stomtroopers were simply too many and the Rebel's rearguard were hit and and fell.

The rebel's rearguard takes incoming fire...
...and falls.
On the other side the Rebels, including their wounded leader, stumbled towards the exit point. With yet more stormtroopers blocking their way it turned into a fierce close range firefight with casualties on both sides. As the Rebels pushed further they ended up in close combat with the ever increasing number of stormtroopers. 

With the Rebel leader being shot, falling to the ground and this time staying down, and others going down aswell, the rebels simply could not break out from the Empire's trap. The Rebels not shot were captured, facing an uncertain fate.

The Empire had won!


The desperate rebels try to shoot their way out...

...but even as some stormtroopers go down the rebels
loose speed and get bogged down in fierce combat.
The rebels are surrounded on all sides...

...and in the end the rebel leader goes down.
The rebels are caught!

Conclusion

Another quick and fun game using our Star Wars "Wild West" theme. The Rebels plan to go strong towards a specific exit point, only leaving a few Rebels as rearguard was probably a good one. But with their heavy equipment they couldn't move quick enough and with their leader wounded early on they were in deep trouble. Some good manouvering from the Empire also made sure to slow the Rebels down until more stormtroopers arrived to close the trap. A great game!