Showing posts with label Scenery. Show all posts

Thursday, April 5, 2018

Building Sci Fi Terrain in 28mm

Introduction


For awhile we felt the need of getting more sci fi terrain built, to use with any of the many Sci Fi settings. There are many out there like Necromunda, Shadow War, Inquisitor28 and 40K (all from Games Workshop) but also for Star Wars (with Star Wars Legion of FFG now releasing many new miniatures) and other settings. Many skirmish games benefit from having ALOT of terrain on the table. It simply gets more fun than standing on one side each blasting eachother across an open field.

So last fall we started to look into our leftover pieces from earlier projects and also ordered some new stuff and in a building frenzy it was all put together and given a tabletop paintjob. This is still a WIP project with more details to be added but for now it works for gaming. Also, we will add more scatter terrain.

The main components are from Mantics plastic buildings,  old GW Necromunda plastic bulkheads, mdf from Micro Art Studios, Sarissa Precission and Wargaming Tournaments. Also, some plastic sheets, pringles tubes and other random stuff were used.

A key element was the 3mm thick mdf bases from Warbases. They were all cut to multiples of 11x11 cm square. So some bases where 33x11cm and others 22x22cm for example. By doing that they are easily put together and combined into different set ups.

Pictures can tell the story of construction better than anything that we could write up. And to be honest some of the construction was a bit random so it is difficult to give a propper account of how a specific peice came to be. So below are pictures taken along the way that hopefully give an insight to how the terrain was made. All in different WIP stages of completion and all with some detailing yet to be added.

The Building Process in Pictures
 
Games Workshop, Mantic, Wargames Tournaments, Warbases etc


Sarissa Precission, Games Workshop, Warbases

Games Workshop, Mantic, Warbases
Mantic, Games Workshop, Warbases etc

Mantic, Games Workshop, Warbases etc
Mantic etc
Games Workshop, Mantic, Pringles, Warbases
Sarissa Precission, Mantic, Warbases etc


Mantic, Warbases
Micro Art Studios, Warbases
Measurements in centimeters
A test set up


Trying out the palette
On a 6x4' board


Friday, July 10, 2015

WW2 Log Entrenchments in 28mm with a Tutorial

.


With more miniatures done for second world war wargaming we need some other additions aswell, including entrechments or MG nests. In Chain of Command you can "buy" entrechments as support and one entrenchment should be able to hold a team while two of them should be enough for a squad or section (i.e. about five or ten men respectively).

As much of our WW2 gaming center around forrested areas on the Eastern front or along the West Wall, like Hurtgenwald, log entrechments seemed like a good choice. Very easy to make they are too.

1. Twigs from the garden made into a wall using wood glue.
2. A build up in front made from cardboard or similiar material.
3. Cover the front with filler or any other cheap, rough material. For extra detail add a few small pebbles into the filler.
4. Paint it all in your base colour, for us a dark brown.
5. Drybrush with lighter colours. We made the logs lighter than the surrounding "earth" for more of a visual impact.
6. Add flock and other vegitation that goes together with your wargaming table.


Twigs and cardboard.

A layer of filler.

All done, with some 28mm Americans to show the size.

Plenty of space.

The real thing.

Sunday, June 14, 2015

A Gaming Board Revisited

A lone rifleman inspecting the new Realm of Battle.

A long time since the last post on this blog. This spring has been very hectic with very little time for fun and games. We have not been all idle though and will have stuff to post in due time.

One of our gaming boards, a hard plastic Games Workshop Realm of Battle Board, has served us well through the years. It is made out of eight 2x2' sections making a 8x4' table if needed. It is sturdy and its modelled slopes gives options for some varied set ups.

The original board in a 6x4' set up. Notice the pits of skulls...
When first bought we modified it somewhat, removing skulls and adding flock to get rid of that Fantasy Battle feel. We kept the colours a bit dull and also added some water effects for a rather "wet" and gloomy board.

Pretty much ever since it was finished two things has bothered us a bit. The rock was left too bare, leaving too much stone exposed. In a real forest rock and stones tend to be covered in moss or similar. Also, the boards dull colours made the board a bit to dull(!) and limited its uses somewhat.

Just recently we had the opportunity to revisit the board. The primary objective was to cover more of the grey rock in flock for a more natural look, but also to add a touch of more colour and variation to the board itself. The challenge was to add more colour but yet maintain the "wet" and "autumny" (is that even a word?) feel that set this board apart from some of the other boards out there. By adding a bit more green to the mix it can now (with the right accessories and add ons) pass as wet summer but with the use of autumn trees etc we feel that it still works well for autumn.

All in all we are happy with the make over and hope you agree.

The full revisited board. A touch of more green.

A closer look. No more of that bare rock.
The remade separate hill.

And as a comparison; what the old board used to look like.

Saturday, November 1, 2014

Markers - needed but neglected

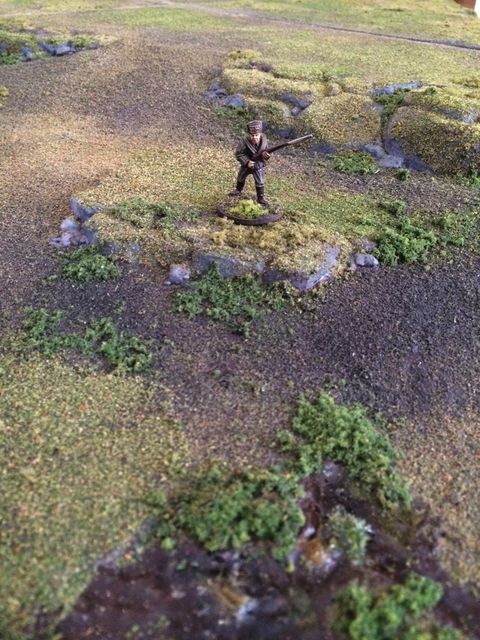
We have started looking into WW2 wargaming. Hard to resist with all the rules, miniatures, vehicles that are released for WW2 these days.

One thing that many rulesets have in common is the use of markers on the table - maybe even more so the WW2 and modern wargames. To indicate overwatch, units being pinned, shock or something else.

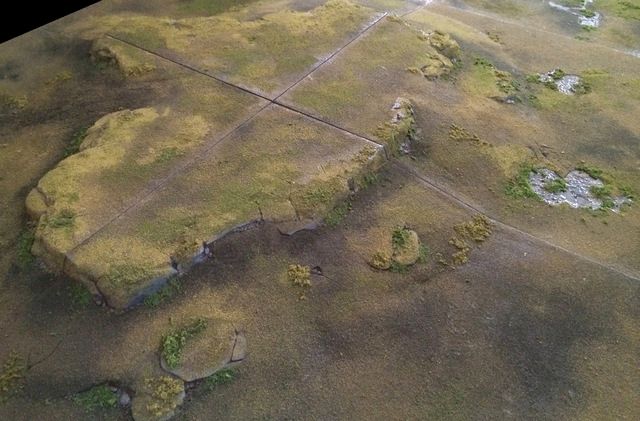
Being somewhat allergic to dice and other glaring objects on a gaming table that we try our best to be visually pleasing it was long overdue to make some proper and suitable markers for wargaming.

The idea is to have the markers look good on the table but at the same time be as clear as possible and at the very least it should be possible to tell one type of marker from another without to much trouble.

Bolt Action, to give an example, put dice next to each unit activated to show one of the six possible actions taken: Fire, Advance, Run, Ambush, Rally and Down. Our solution is instead to have a marker for each of those actions to put on the table. Bolt Action might not end up as our go to ruleset for WW2 but by using that number of different actions we pretty much have covered the need for markers for any other ruleset as well.

We settled for a system of using coloured flowers, rocks, bushes and the shape of the markers themselves. The flowers are from Noch. Warbases provided excellent and quick service and provided the bases needed, including some custom bases. In particular we wanted an Overwatch/Ambush marker that indicate a 90 degree arc as in Chain of Command a unit on Overwatch cover a 90 degree arc of fire. Also some triangles were useful, among other things they will be used for Chain of Command's "tactical" advance. i e a unit that advances carefully.

What marker that will indicate what will naturally vary between the rulesets but hopefully we now have most bases covered.

Yellow flowers. For example "Fire".

A single stone. For example "Advance" or "Walk".

Two stones. For instance "Run" i e double pace.

An arc with a bush. For example Overwatch/AmBUSH, get it. ;-)

White flowers. For instance "Rally".

Red flowers. For instance "Down".
Triangles. For example "tactical" advance.
Hexagons. Shock/Pin etcetera markers. With the larger hexagons being used for higher values.
We will add casualty figures to some large hexagons but wanted some generic "blank" as well.

Wednesday, July 30, 2014

Tents and Pavilions in 28mm scale

What could be more appropriate for a blog post during summer than a post about tents and camping. :-)

Most of Sweden have had wonderful summer weather for the last month. With such weather hobby time is sparse. Some progress can be reported however with a camp of pavilions and tents in 28mm scale being finished. Our pavilions are the Large Medieval Jousting Tents in resin from Magister Militum. The smaller tents are in plastic from Renedra.

As anyone who has lived in - or even visited - a medieval or renaissance reenactment camp will know a medieval camp has a lot of ropes in it, keeping the pavilions in place. The return to your pavilion at night can become quite a challenge.. To illustrate this linnen thread were added to the models. All of the tents were mounted on mdf bases from Warbases.

The camp.
The Pavilions.

The Tents.
Pavilions WIP with greenstuff added.

Basecoated.

Linnen thread being added to small holes drilled into the tents,
later fastened to brassrod pins at the base.


Nice working conditions up north with looong, beautiful summer evenings.